CARDBOARD WORKSHOP / CARDBOARD BOX
Build a Cardboard Box
Cut one cross-shaped blank, fold it into a cube, and glue the seven integral flaps.
- 50 mm cubeNominal size
- Solid paperboard 0.5 mmOne blank
- 1 A4 sheet1 template
- White PVA glueSeven integral flaps
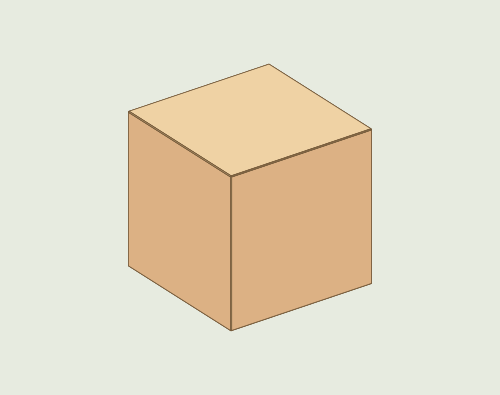
Interactive 3D assembly guide
Drag to rotate. Blue marks the face of the flap to coat with glue.
Board 0.5 mm ·Materials
Materials and A4 templates
Print at 100% / Actual size and check that the printed ruler measures 100 mm.
Use white PVA glue, a ruler, a blunt scoring tool, and scissors or a craft knife. Transfer the fold lines and face labels to the outside face.
One cut piece
The six square faces and seven tapered flaps stay connected. Cut the outer line and lightly score the dashed lines. Use the A4 sheets to trace at actual size.
N
Folded glue flap
Assembly sequence
2. Apply glue to four wall flaps
View this stage in 3D →3. Fold and join the walls
View this stage in 3D →4. Coat the two bottom support flaps
View this stage in 3D →5. Coat the bottom closing flap
View this stage in 3D →6. Close and seal the bottom
View this stage in 3D →Printable prototype. Test the creases and glue on a scrap of your board before cutting the full blank.