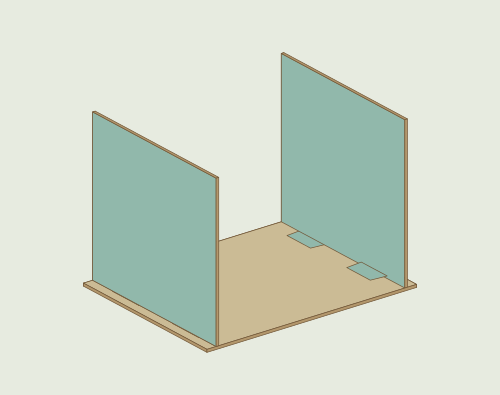
1. Glue the side walls to the floor
Coat the underside of the base flaps on L and R with a thin layer of PVA. Fold the flaps inward, set them on floor S, and hold the walls upright.
View this stage in 3D →CARDBOARD WORKSHOP / DOG HOUSE
See where to apply glue before fitting each piece.
Drag to rotate. The incoming piece is green. The glue surfaces are blue.
Board 2 mm ·Change thickness
Choose the board thickness before printing. The model, part previews, and templates update to match.
Print at 100% / Actual size and check that the printed ruler measures 100 mm.
Use PVA labelled for paper or cardboard on clean, dry surfaces. Test a flap first if the board is glossy, waxed, or hard to crease.
7 pieces from 5 templates. Dimensions show the full cut blank, including tabs or flaps. Trace each template as many times as its copy count indicates. Use the A4 sheets to trace at actual size.
Coat the underside of the base flaps on L and R with a thin layer of PVA. Fold the flaps inward, set them on floor S, and hold the walls upright.
View this stage in 3D →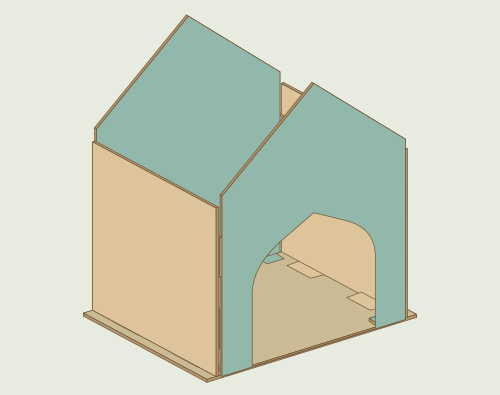
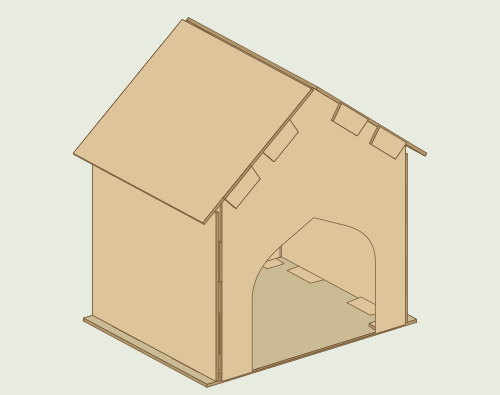
Apply glue to the base and edge flaps of each incoming wall (F or B). Fold the flaps inward, set the wall on the floor, and press the edge flaps against the side walls.
View this stage in 3D →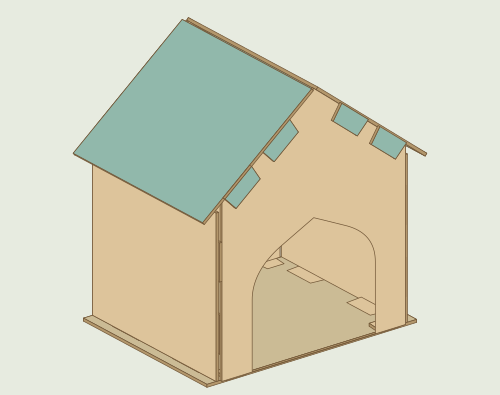
Apply glue to the four flaps on each roof panel. Fold them down and lower the panel so the flaps wrap around the outside of the front and back walls.
View this stage in 3D →Prototype. Fit and durability still need testing on real board.